It seems like every week or so a new startup launches a promo page featuring nothing more than a slick video and an email opt-in form. Creating a landing page that collects email addresses is easy (hint: use ConvertKit), but creating a compelling video intro is a little more work.
Recently, I wanted to create a short promo video for ConvertKit to show potential customers what the software does and how it can be used throughout an entire product launch cycle. In the past I’ve used screencasts for these types of videos, but this time I needed the video to feel more like a story and less like a lecture.
Planning the video
The best product videos I’ve ever seen show the product in use and talk about the benefits it provides rather than explaining its features. In other words, the most engaging videos focus on how the product will improve a potential customer’s lifestyle rather than attempting to educate them about some new features they’re missing out on.

Before doing anything on the computer, I wrote down a list of shots I wanted in the video. I determined the video would show an unnamed author planning out a landing page, writing the book, creating a landing page in ConvertKit, publishing it, promoting it on social media, sending out emails for a launch sequence, and finally using a broadcast to launch the book. Basically I wanted to show the lifecycle of a book launch and how ConvertKit makes that entire process far more intuitive and effective.
Easier shooting
Every video I made in the past required a lot of setup and optimization before before shooting. For this video I wanted to make quality shots, but I also needed to produce it quickly rather than putting in a ton of time to make something perfect. It was also liberating to accepted the fact that my video skills just aren’t at a level to make something as high calibre as a video professional, so there was no use getting stuck in the rut of perfectionism. Instead, I decided to embrace my skill constraints and focus on the shots I could get in as little time as possible.
Something I discovered early on is that video is usually so difficult to shoot because you need perfect ambient sound conditions for audio to turn out ok. You can’t shoot in a coffee shop unless you get the owner to let you in after hours when it’s completely quiet. You also can’t shoot in your home office if your kids are playing in the background (maybe that’s just me).
That being said, location-dependent audio quality is a huge constraint. Since I decided not to spend endless time trying to make this video perfect, I decided to think outside the box. A video that is just telling a story doesn’t actually need live narration or sound effects. Even if you want audio, it often doesn’t need to be recorded at the same time as the video. This makes recording video so much easier, and takes the burden of arranging a perfect, quiet location off the table!
Getting the shots
Even though they are easier to produce, videos composed mainly of screencasts tend to be excessively boring. Even short, one minute videos like the one I was making for ConvertKit would be lackluster if I just used screen recordings. Luckily, the camera on my iPhone is great, so I decided to use it to get additional shots – just simple stuff like hands typing on a keyboard or drawing on a sketchpad.
A few weeks ago I was in Portland for The World Domination Summit, so I actually got half the screencast shots done while sitting in my hotel room between events. I just opened up Quicktime Pro and started recording.
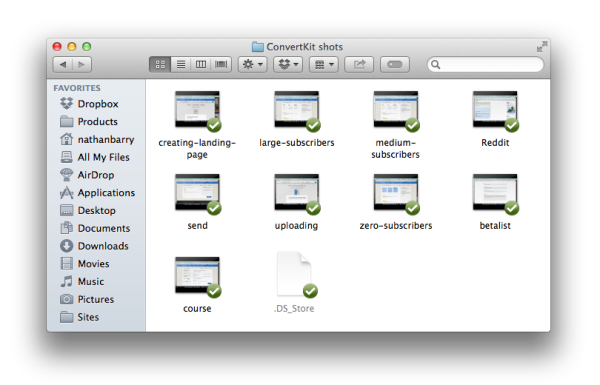
I was even able to continue recording at the airport and on my flight home. It’s amazing the places you can do screen recordings if you aren’t planning to use the audio!
Adding to Premiere
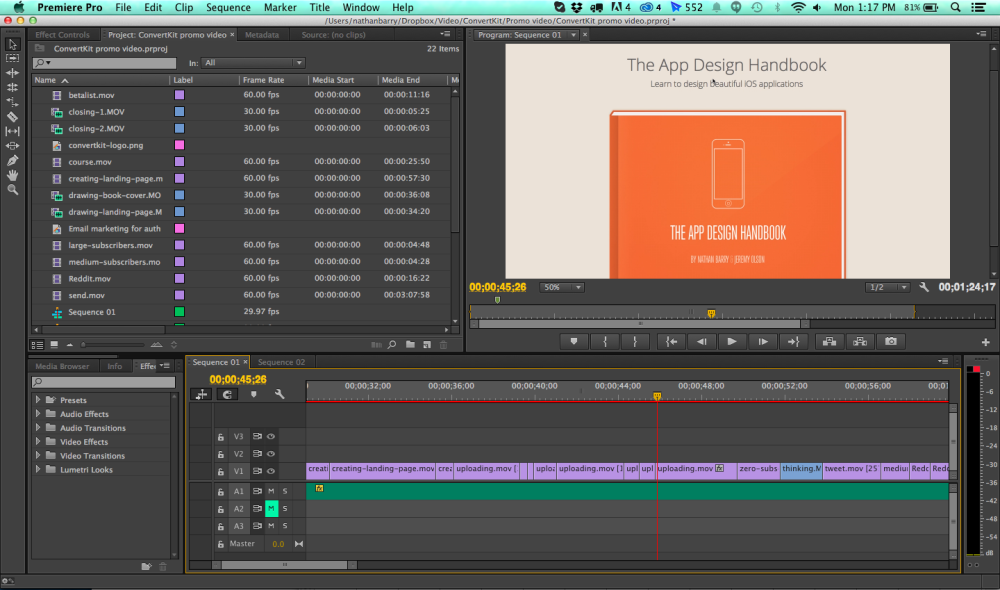
Next I added all the shots to Adobe Premiere and trimmed them down a lot. I would end up using 4-5 seconds of a 30-45 second shot. Then I increased the speed to about 150% depending on the content of the clip.
Adding interest
While doing research for the video I watched a handful of training videos from Wistia. They do a great job of mixing live shots with their screencasts, but even their screencasts look interesting. They all have a unique angle which make them look like they were shot from a separate camera rather than from screencast software.
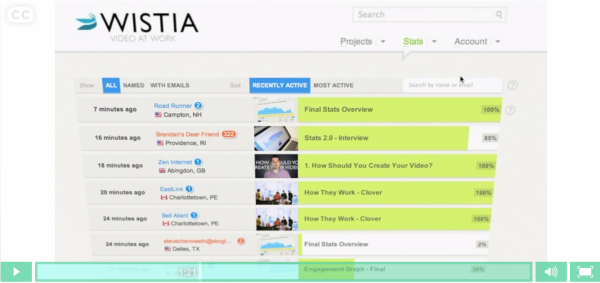
They do have some live shots of the screen, but mostly these are just screen recordings that they added a slight tilt to and zoomed in on. This technique is great for focusing on where the action is rather than always showing the entire screen.
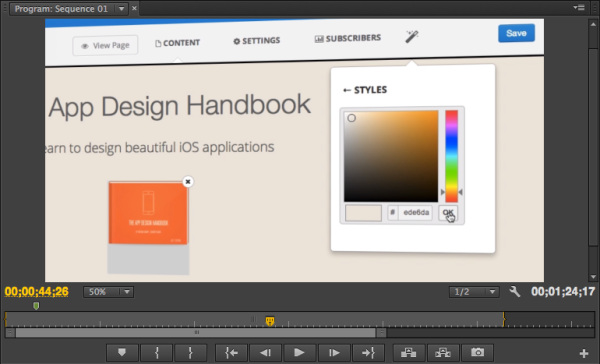
I followed their lead and went back through all my shots to zoom in on the action; I also added a slight tilt with the Basic 3D effect.
Adding live shots
When I got home and had time to shoot the live shots, I needed a good desk for the shot. Since my home office was already packed up to move to the new house, that wouldn’t work. But nothing was setup in the new house yet. So I grabbed my studio lights, laptop, and a good pair of headphones and set everything up at the desk in my brother-in-law’s bedroom (he was at work, he’ll never know).
For shooting I just used my iPhone 5s mounted with a Glif on a Gorillapod.
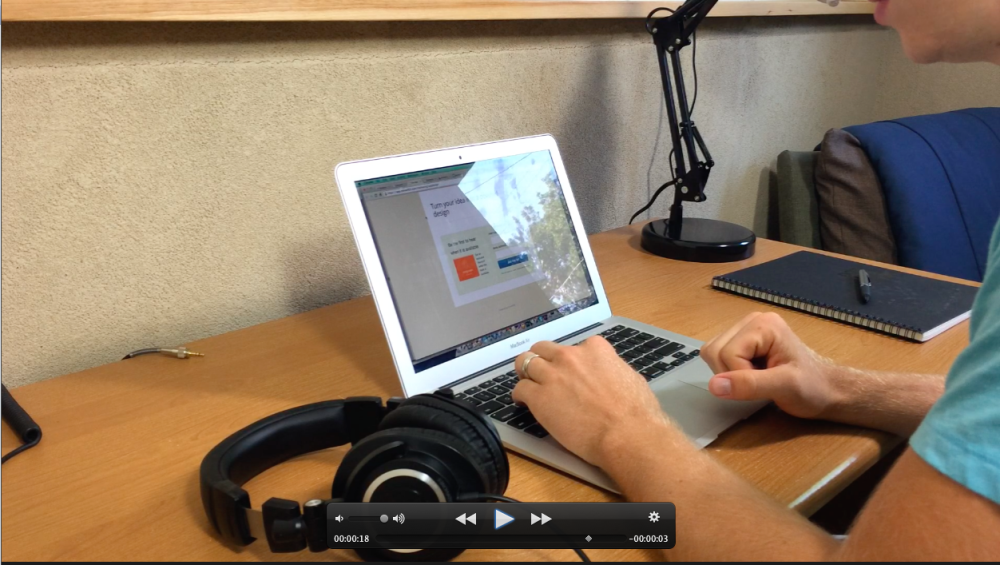
The lighting in my first attempt didn’t work so well. To fix it I closed the window shade and added another studio light on the other side. Here’s one of the rough shots of sketching the ebook landing page
Once I had a handful of these shots I plugged in my iPhone, downloaded them to my computer, and imported them to Premiere.
More editing
All the work up to this point had been done on my 13″ Macbook Air or on paper because I was traveling. But now I was able to set up my 27″ iMac to start more serious video editing. The incredible screen real estate on that machine is quite valuable for video editing. Having two monitors also helps a lot.
Besides adding in the new shots I also focused on shortening every shot. My first rough cut of the video was about 1 minute, 55 seconds. The final cut was 1:24 seconds. I didn’t cut out any major sections, but instead trimmed a bit from every shot. It helped to show the rough cut to a few friends and family members to see their responses. Finding people who were in the middle of something else at the time was especially helpful since I could see when they started making the “I really need to get back to what I’m doing” body language. Which showed my which parts felt like they dragged on or weren’t engaging.
Adding music
Since the video doesn’t have any narration, I got away with not having to record any audio up to this point. However, a video needs music to be engaging, so I watched this video from Wistia to learn more about finding great music.
At their recommendation I went to Marmoset Music and found a few great pieces.
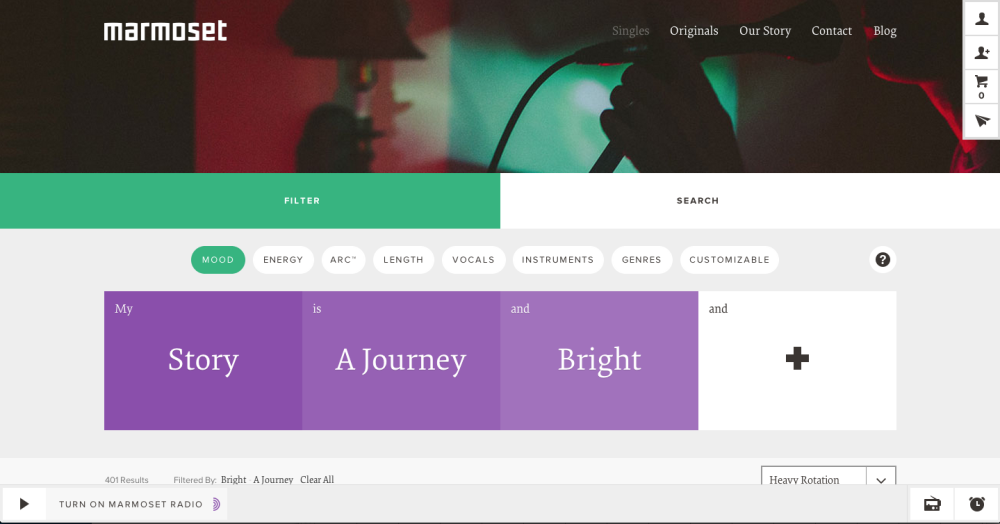
I love their stuff. It’s all high quality, and you can get it with or without vocals. I downloaded a few tracks and added them to my video project. It’s really nice to be able to listen to the music samples directly with your video rough cut.
Once I found a track I liked, I bought a license and added it to the final cut.
The final cut
Now I had an almost complete video. I added the ConvertKit logo and a little text before uploading it to YouTube and sharing it with a few trusted friends. After making a few changes based on their feedback (a few shots were too short), I uploading a final version:
What do you think?
Add your tips and tricks (and feedback) in the comments. My video is nothing compared to the great startup videos by pros like Adam Lisagor, but I think it does a decent job showcasing ConvertKit.
I’m especially happy that I could do it all with screen recordings and an iPhone.
Additional resources
If you’re looking to create your own videos I’d recommend two resources:
First, watch all the videos in the Wistia learning center. They helped me so much with everything from how to choose specific gear to general inspiration on how to present the video.
Second, check out my friend Caleb Wojcik’s blog and his guide on DIY video. He’s got a ton of great content on creating really good web videos.
And finally, if you want more content on design, marketing, and growing an online business, sign up for my email newsletter with the form below.

Awesome post Nathan.
I’m guilty of doing screencast style videos with kinetic text/mixed with some face to camera. But the ‘live shots’ really bring the app to life.
thx
Paul
Very informative post Nathan,
I usually just hire an animator to create my videos but the way you do it makes it look more personal.
The final video looks pretty awesome man.
Hi Nathan,
Very helpful posts to get a view that a cool video is doable.
Why did you do not narrated the video ?
Best wishes
Niels
Another great article Nathan – thanks. My only comment on the video is that it could do with a voice over describing the functionality/benefits you are presenting as it’s a bit hard to grasp the context if you’ve found it on youtube and you dont know what convert kit is?
I love it!
Great video, Nathan. And this tutorial came to the right time. :)
Awesome article Nathan!
I’ve always wondered, how do you do the animation upon the screeshot at: 0.18 where the screen looks slightly on a bend?
It’s just the basic 3d effect in Premiere.
Nathan, great job on your video. Video really adds that personal touch that gives credibility. I’d be interested to see statistics in a couple months about how the video helped your signup page convert better.
Hi,
Very nice video especially for something done “in as little time as possible”.
I have one criticism though: the music might be (waaaay) too loud. I had to turn volume down pretty low to get it to an acceptable level. It might be just me though.
Other than that it’s just great.
Great stuff Nathan! The video turned out really well.
Awesome stuff Nathan! Very helpful in creating videos for myself in the future.
I just finished listening to your podcast episode with Chris Ducker; and hearing your story so inspires me to continue pursuing my passion to write an ebook and create online products.
Thanks for this awesome post as well!
Robb
Nathan – Awesome end result. Curious to hear how it performs!
Also, thanks so much for showing the tilt to the screen shot. I’ve watched a lot of wistia videos and I noticed that too but never realize that was how they did it. Amazing the difference it provides!